Step 1
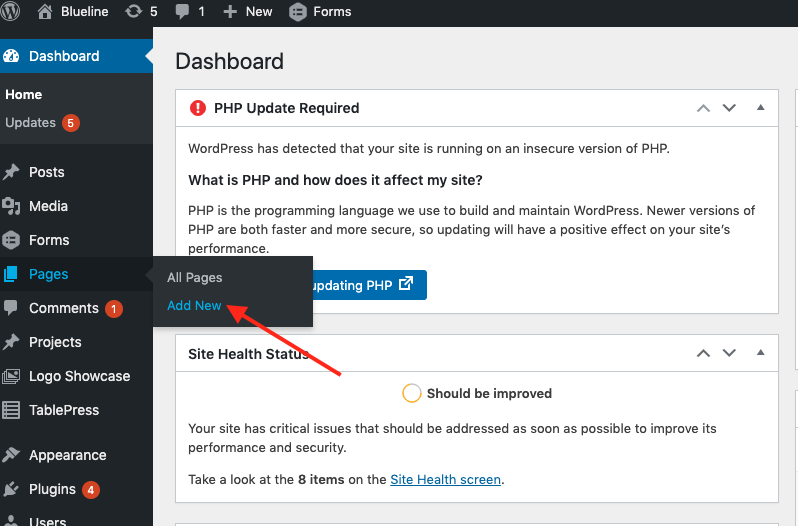
Create a new page by hovering on “Pages” and clicking “Add New”
Step 2
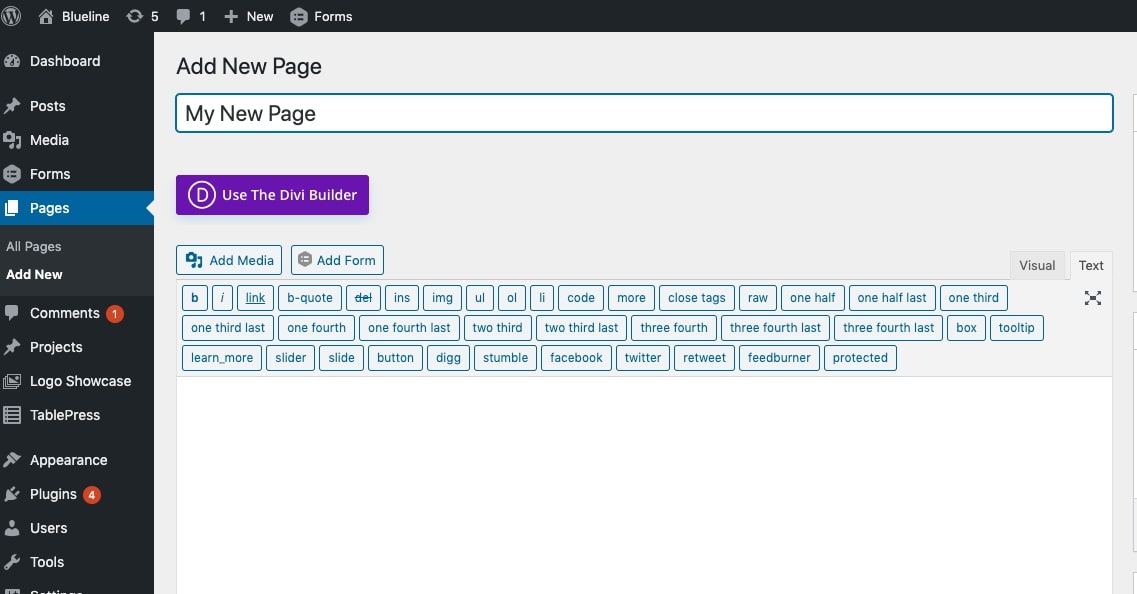
Give your new page a title then click the “Use The Divi Builder” button.
Step 3
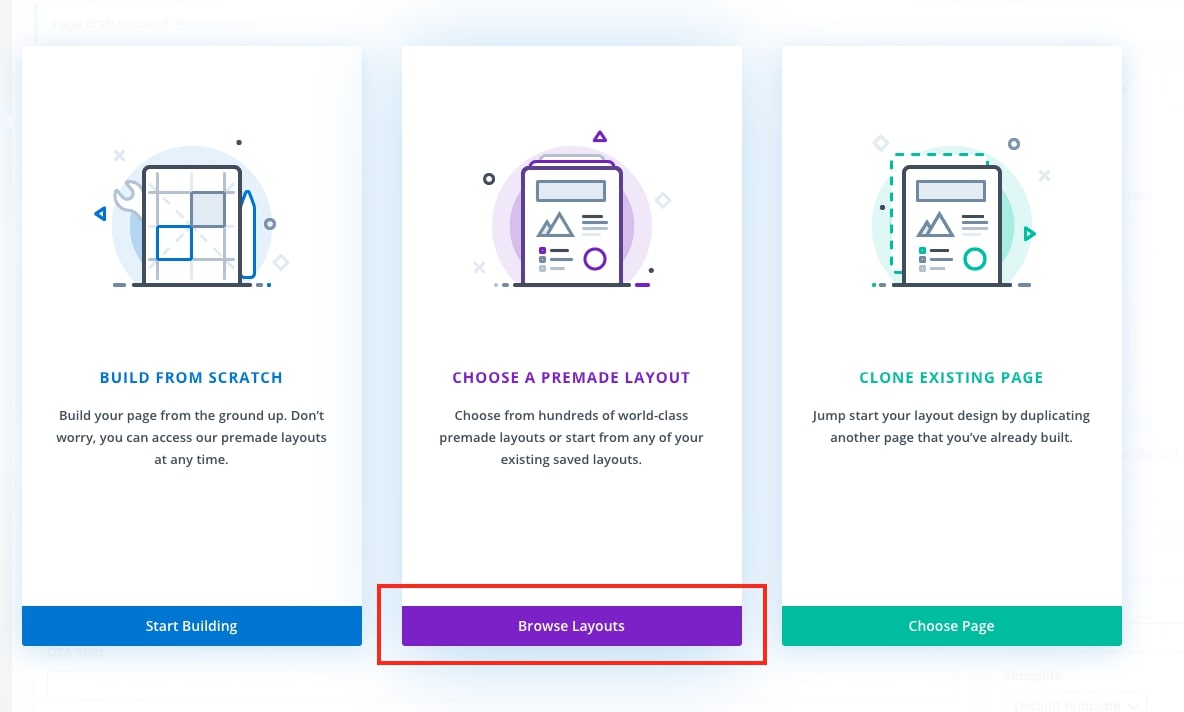
Click the “Browse Layouts” button on the “Choose A Premade Layout” column.
Step 4
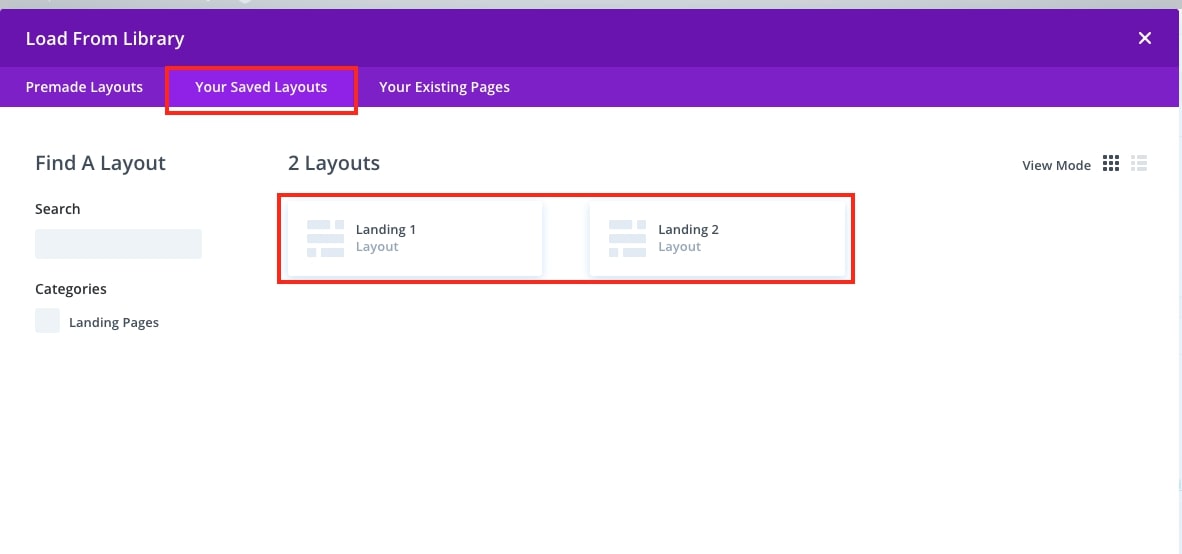
Click “Your Saved Layouts” then choose either Landing 1 or Landing 2.
Step 5
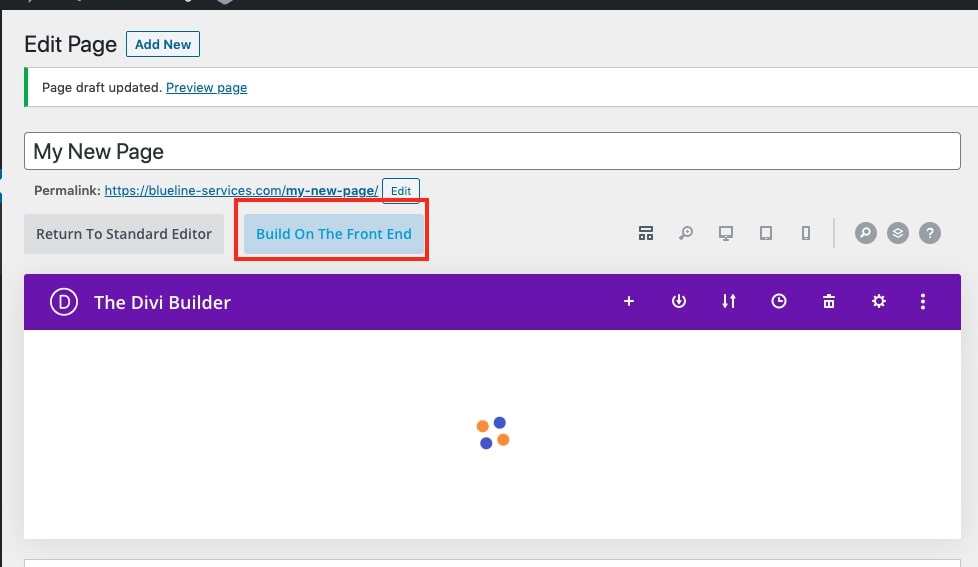
Click “Build On The Front End”. You can build in the backend, but it’s much nicer on the front end.
Step 6
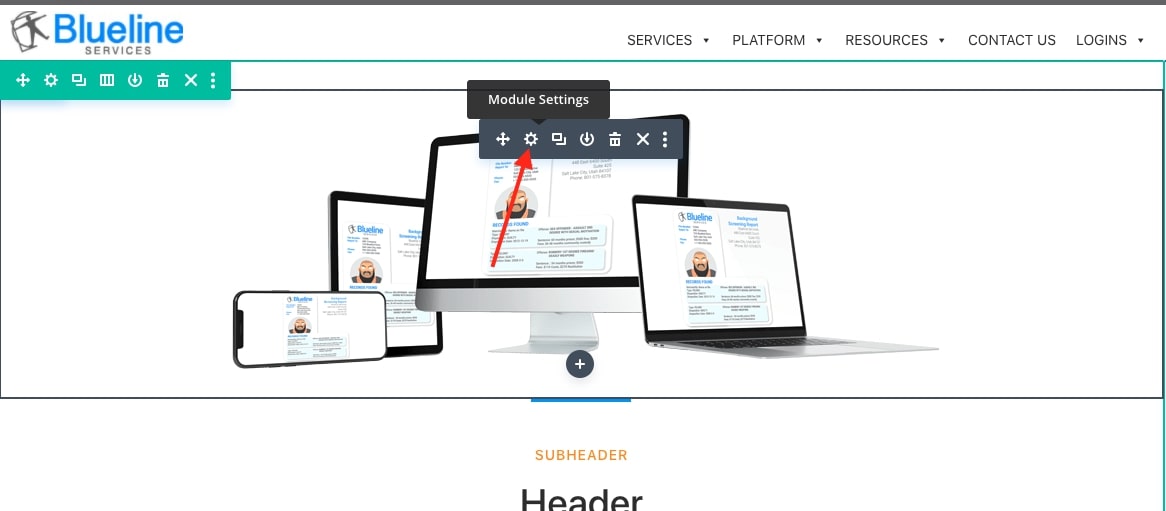
To change the image, hover over the image module until the grey settings box appears. You’ll also see green and blue boxes. Ignore those. You will be making edits in the grey boxes. Click on the grey gear icon.
Step 7
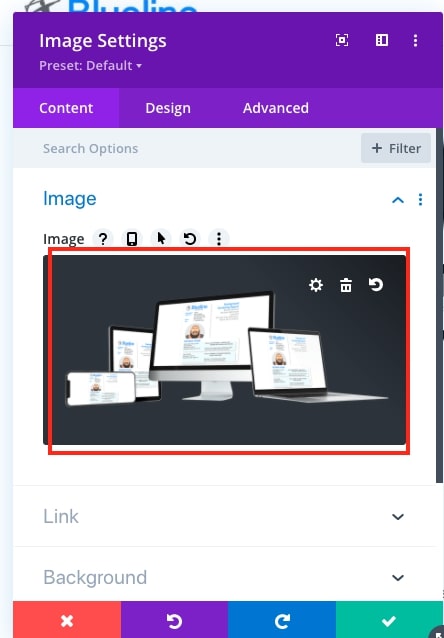
Click on the image in the image module that pops up. From this screen, you can select an image previously uploaded to the media library or upload a new image.
Step 8
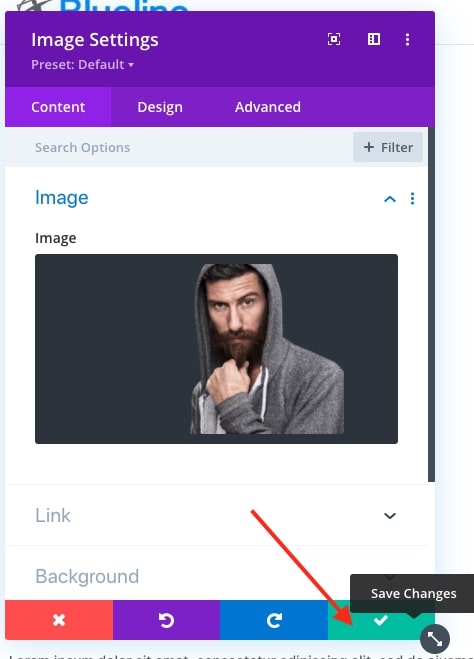
Click the Green Button with the check to confirm the new image.
Step 9
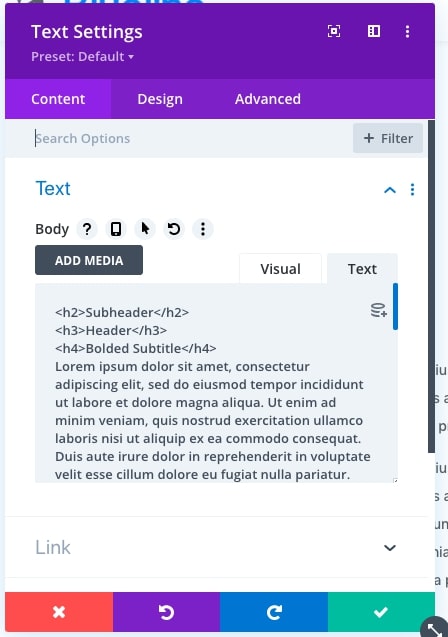
Do the same on the text module. Hover over the text until the grey settings bar appears. Click the grey gear icon.
The text module settings will look like the normal WordPress editor. You can edit the content in either Visual or Text mode. When you finish your text edits, click the green button with the check to confirm your text edits.
Step 10
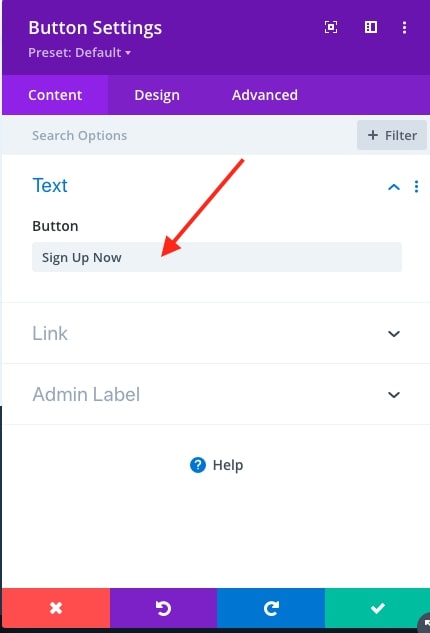
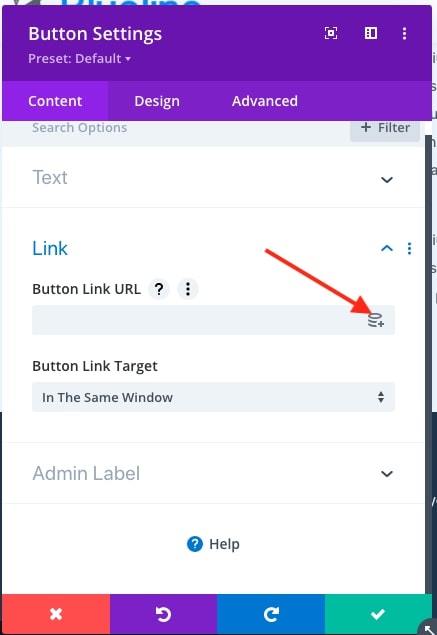
Edit the button the same way. Hover over the button and press the grey gear icon. Change the button text to whatever you’d like.
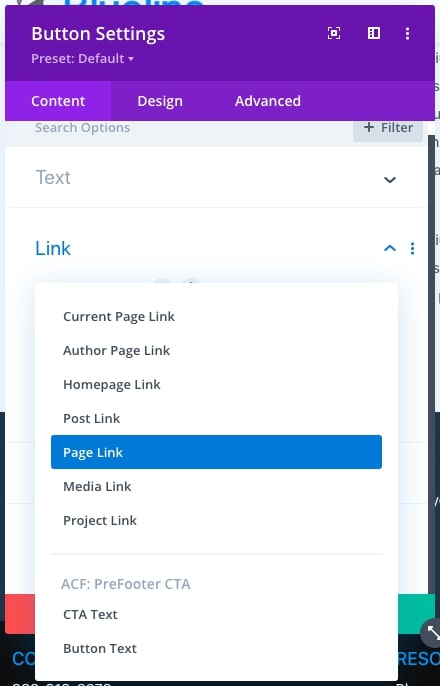
Click on “Link” to open the link target field. If you click the little pancake looking icon you can set the link to a Post or Page URL without having to type the URL.
Step 11
When you are happy with your new page image and text, it’s time to publish the page.
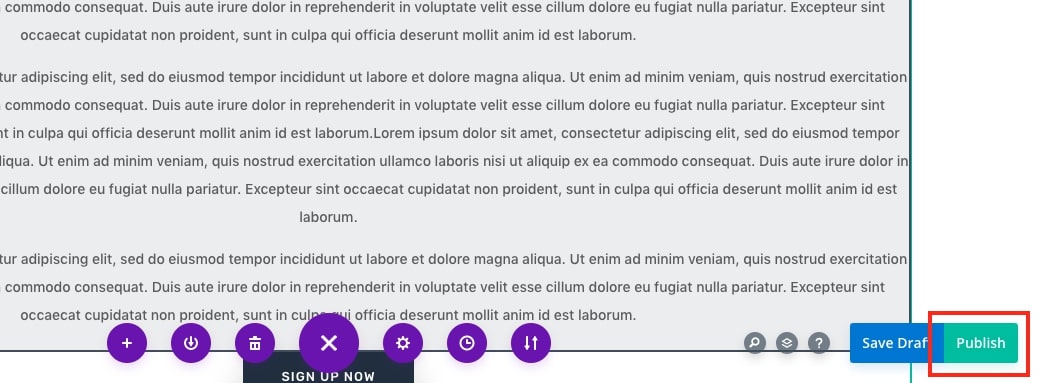
You can do this either by pressing the hotkey Control + s or Command + s on mac, or, by pressing the green “Publish” button in the lower right corner of the screen. (On subsequent edits this button will say “Save”. )
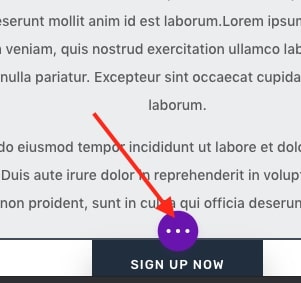
If you don’t see the green “Publish” button, click on the 3 dot icon to reveal the page settings.
